
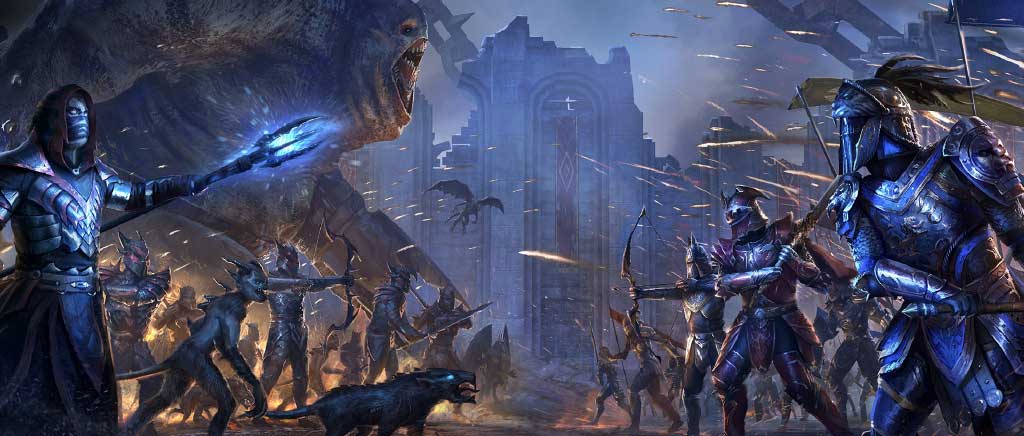
ESO Dungeon Guide: White Gold Tower
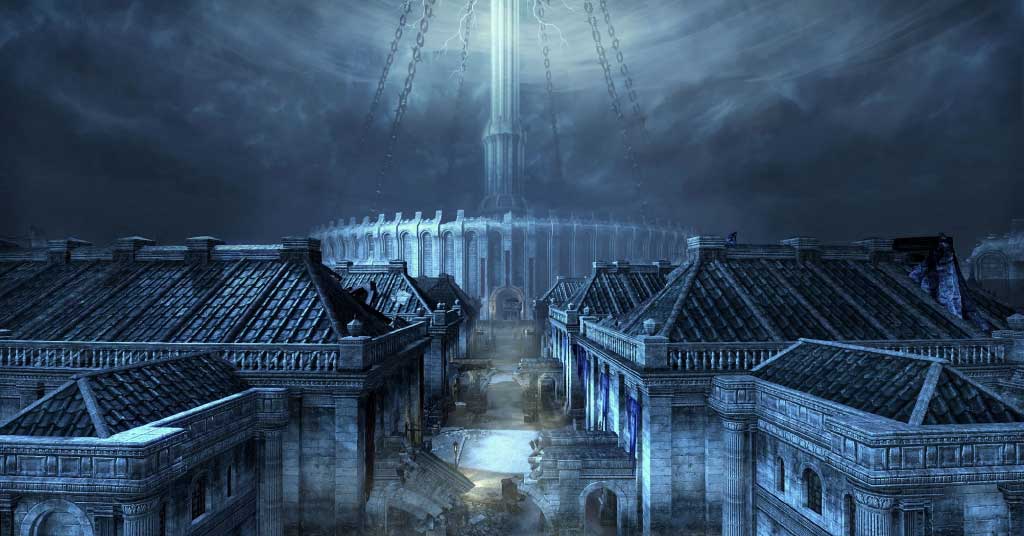
This tower is of Ayleid make, a relic of ancient times. Now, of course, it is overrun by Daedra, much like every other place in the Imperial City. However, it appears that Clivia Tharn, the Imperial Regent, is here...
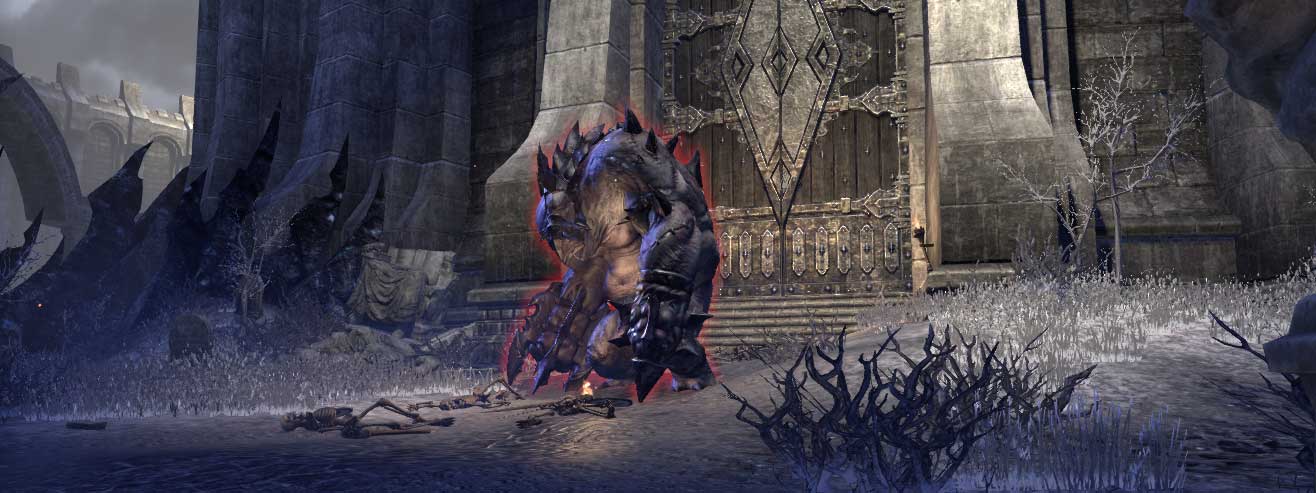
The Iron-Swathed Glutton
The easiest boss in either of the new dungeons, and maybe anywhere.
Abilities:
- Poison pools: He thrusts his fist into the ground and summons pools of poison. Step out of them until the effect ends.
That’s it. Seriously. Just kill him, and that should be easy, given his tiny HP pool.
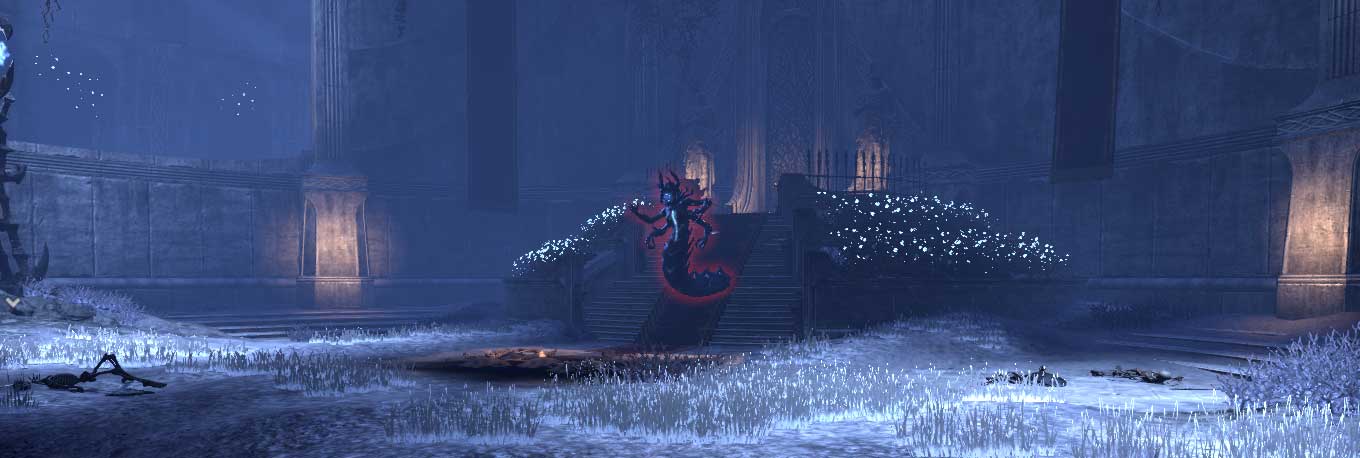
The Adjudicator:
This mockery of justice everywhere is sitting in a room with several cages immediately after the last boss.
Abilities:
- Harvester Claws: That same type of glowing claw attack that normal harvesters do, but made far worse. This attack can either bounce back and forth several times, or can come in a wave of 3-4 claws. In either case, if caught at middle distance, you will be bounced around and die unless your healer really likes you.
- Fire Blasts: There are two blue fires to the sides of the room, and they blast people regularly. It is just a little additional damage with nothing much to be done about it.
- Fire Pools: The boss leaves multiple pools of fire on the ground. Don’t stand in them.
- Fiend adds: Several fiend adds will be summoned at regular intervals. DPS should have root effects on their bar for this fight so you can pull the adds into a group, root, and aoe down.
- Sentenced: A random player will be locked in a prison cell. Make sure you have lockpicks! Either pick the lock or force your way out. Having the Legerdemain skill that increases your chances of forcing locks makes forcing the lock feasible.
Crematorial Guards
These Daedroth are the enrage timer check for White Gold Tower. As with the Flesh Atronachs in the Prison, they serve as a DPS check of sorts. The timer, should one exist on normal mode, is extremely long, but swift work is still good practice for veteran mode! Kill them swiftly, while avoiding the usual Daedroth fire mechanics, and you will be fine.
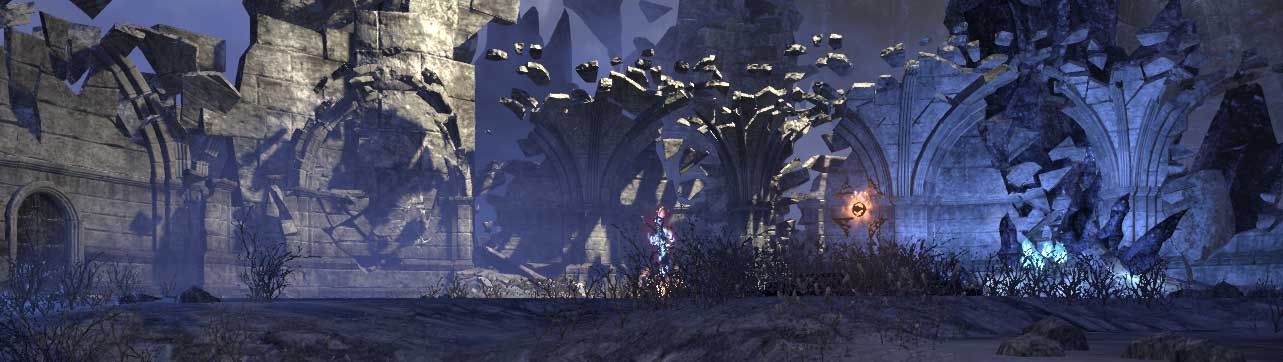
Portals of Shadow Realm:
Another important mechanic in this dungeon shows up here. Shining white portals will appear on occasion. One player will have a Shadow Realm Aura around their head. They use a light attack (2, maybe, if a tank) to kill the portals to stop adds from coming through. The faster, the better. There does seem to be a breakpoint on both normal and veteran modes, where after 2 mobs come through the portal decays. The exception to this rule is during Planar Inhibitor. It is good practice to kill the portals swiftly in order to prepare for that battle.
Clavia’s Guards:
You saw them down below as reliable friends, but now that ‘Clavia’ has revealed her true colors they are your enemies. The tank should pull the melee enemies away from the group, and kite them in a circle. They will still pull people in, but those people just move to safety and continue dpsing. Melee DPS is not recommended here. Ranged interrupts are great. In VR mode, you can get chained into 2 enemy AOE hits causing about 23k damage, so having that much health may be a lifesaver.
There are three and they should be killed in the following order (advanced groups may look into killing the DK or NB first, as it is faster. The danger is that they will then be untanked, which can cause problems.):
First is Ortho the Templar who is the healer of these three guards. While the tank handles the other two, the healer and both DPS should be attacking Ortho until he is dead.
Abilities:
- Healing beam: A standard healing beam to interrupt. Yes, you need to be in close. No, that doesn’t make melee a good choice, given the other two foes.
- Healing Circle: Not much you can do here, other than keep dpsing.
- Teleport: Ortho tends to teleport out of the healing circle, making the job easier. Find Ortho quickly, so you can resume killing and bashing that big heal.
- Fire Whirl: If you remember the first miniboss in VR mode Banished Cells, that same attack appears here. Simply dodge the multiple trails of fire coming out.
- Self-centered circle of fire: Stay out of it!
Second is Micella the Dragon Knight and is the best choice to target after the templar due to the chain pull mechanic.
Abilities:
- Chain Pull: Pulls a player to Macelia with a short stun.
- Fire Banner: Just like other DKs, she will put a stationary fire effect down.
- Burning Aura: A red circle around Micella which hits hard. Even the tank should run away. It will move around with Micella.
- Melee heavy: Tank blocks this, as usual.
Third is Cordius the Nightblade, who is the least dangerous, but still able to put out a lot of damage, Cordius dies quickly without support.
Abilities:
- Ambush: A leap to a random target that stuns. He will back off if taunted. It can be blocked if you see it coming.
- Ravage: An AOE stun with some minor health leeching. No big deal, just break free if caught.
- Knife Whirl: An aoe attack which does heavy damage.
- Shadow Aura: Just like Micella, Cordius has an Aura that deals massive damage. Stay out of it, including the tank.
- Steel whirlwind: Another moving aoe to avoid, which is centered on Cordius.
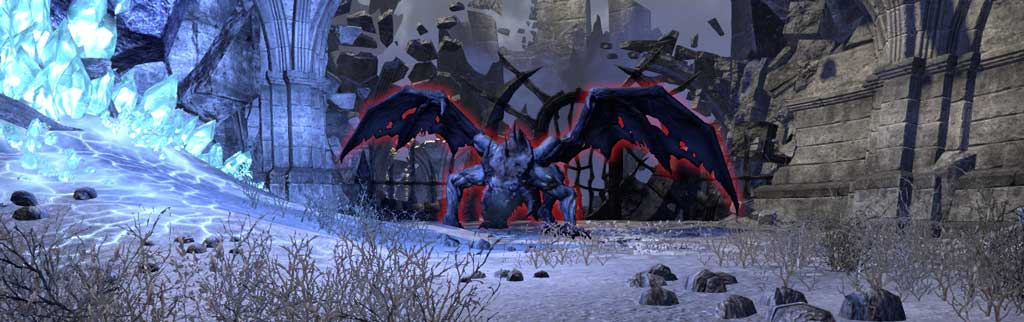
The Scion of Wroth (miniboss):
This titan shows up to make an attempt to stop your progress. It isn’t too tough, just focus and you will get by this test.
Abilities:
- Flame Breath: Just like other titans, it makes a line of blue fire that sticks around. Avoid it.
- Rain of Fire: The boss launches a bunch of random mini AOE fire attacks. Avoid them as best you can. Healers will need to watch out at this point, since people will likely be caught in a few blasts. The key is to avoid the bigger AOEs. Those are the ones which cause most of the damage.
The Planar Inhibitor:
This Flame Atronach feels you are unworthy. Show her how wrong she is by keeping a solid awareness of the following mechanics.
Abilities:
- Fixate: The pinion in the center causes this boss to fixate on you. The boss will pursue whomever is fixated, and players will need to swap fixates out to win. To swap, another player will use the pinion, changing whom the Inhibitor is fixated upon.
- Healing drain: Whomever is fixated is subjected to a stacking debuff which lowers healing taken. This is one of the two reasons why swapping fixates is required.
- Blue Fire and Doom: This sub effect under Fixate is a combined highly damaging fire aura and a slowing effect on the fixated player. This means players must bounce the fixate back and forth so that the boss does not run over the fixated player. Immediately run toward the outside and away from the boss when fixated to maximize the time available for each swap.
- Portals: The boss summons a handful of Shadow Realm Portals. They keep appearing for a while, so as long as you have the Aura to be able to hurt them, your primary focus must be killing these portals as swiftly as possible. If you have forgotten Shadow Portals, please review the section just prior to Clavia’s Guards. A good player with a ranged ability can take them all down without adds spawning. If adds spawn, kill them ASAP.
- Power Down: The boss will eventually exhaust itself. This is an ideal time to max the DPS, since all mechanics, other than adds that are up, stop at this time.
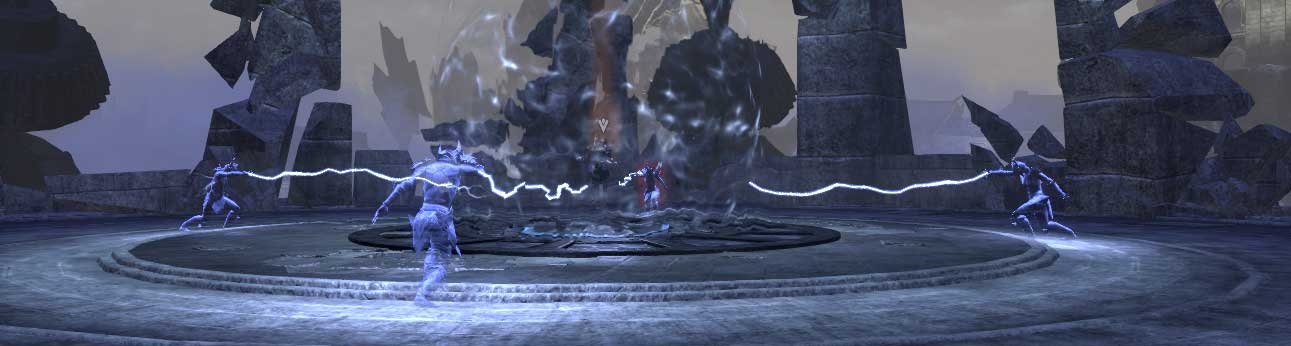
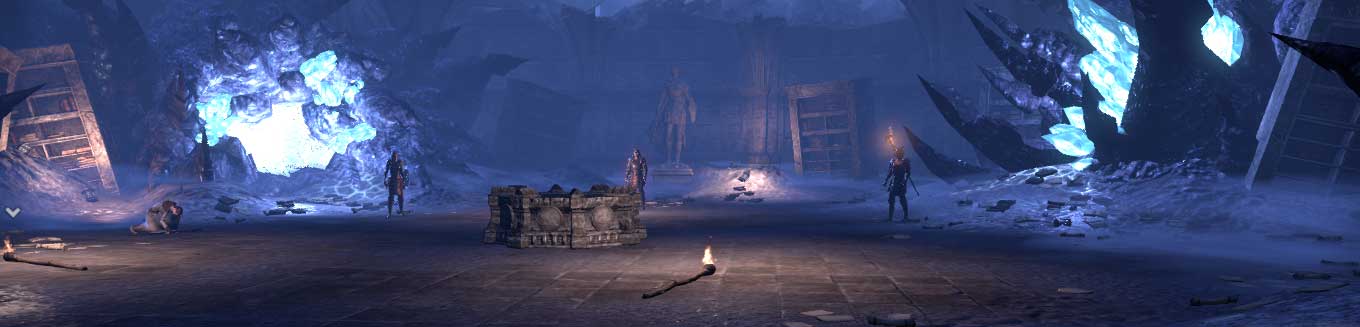
Molag Kena:
Originally pretending to be Clivia Tharn, Molag Kena jealously guards an Elder Scroll from you. She must be defeated to stop Molag Bal’s plans.
Abilities:
- Shielded: Four adds will shield Molag Kena. Kill them all so you can attack her.
- Fire On the Edge: Literally, the edge is on fire. If you step into it, or get knocked back into it, you will die. You can safely accept a rez.
- -Knockback Wave: Molag Kena slams the ground, knocking everyone else back and down.
- Storm Atronachs: She summons one every now and then. It chases a player, doing damage. Kill it.
- Lightning Sparks: A handful of sparks of lightning appear on the ground and will move about. Avoid them because they hit fairly hard.
- Lightning Waves: Waves of lightning racing outward from the center. They do moderate damage and knockback. You can step into spots where there are breaks in the waves. You can also block to avoid the knockback and some of the damage.
- Lightning Bar Normal: Earlier in the fight, Lightning Bar is a line all the way across the room. It hurts. It rotates. Avoid stepping in it.
- Lightning Bar X: Later in the fight the Lightning Bar turns into two lines. They can be rolled through safely. They rotate opposite directions and stay up for the rest of the fight. Roll through to stay alive, then return to your normal task. There are two tactics here. First, you can roll through each bar when they are perpendicular to each other. This minimizes the roll dodge penalty. Second, you can roll through them as they pinch you, first one way, then the other. This tactic uses more stamina, but minimizes mid-attack interruptions.
Credit and much thanks to:
- Raillery ‘The Great.’
- TernieLaBiscuit ‘The Charmaster!’
- Arsnocte ‘Sir Nighty night!’
- JJRDragon ‘Hey, stop hitting me! Get your own cheeseburger!’
- Asharei ‘Five time facepalm queen.’
- Paleus ‘The one and only true emperor of the Ebonheart Pact. 102!’
- Jairone (myself) ‘Feel the power of Wintergreen!’
Your help in running these dungeons, taking screenshots, and recording the mechanics are much appreciated. I hope those of you who did not specify nicknames enjoyed what I gave you!
About the Author
Jairone
Senior Editor
Robert joined Gaiscioch during the Rift chapter, and decided to stick around because the people are awesome! He has a long history of playing games, mostly RPG or Strategy, and has played MMOs since they were born of MUDs.
Aside from his gaming, he also enjoys reading and cooking. Robert has also been previously published as a contributor with Rift Junkies for several articles during the 'Storm Legion' expansion. He does not always use the moniker 'Jairone' but it is a frequent choice in honor of one of his Grandfathers, as it is based on his middle name of Jerome.
About Elder Scrolls Online
Experience an ever-expanding story across all of Tamriel in The Elder Scrolls Online, an award-winning online RPG. Explore a rich, living world with friends or embark upon a solo adventure. Enjoy complete control over how your character looks and plays, from the weapons you wield to the skills you learn – the choices you make will shape your destiny. Welcome to a world without limits.