
Caudecus’s Manor Story Mode Dungeon Guide
Welcome to Gaiscioch’s Caudecus’ Manor Story Mode Dungeon Guide. Our goal is to put together the absolute best dungeon guides available for Guild Wars 2. Special thanks to Xensa, Dee, Zababa, and Rev for their incredible support and help getting the screenshots and refreshing my memory for this dungeon guide. You guys are absolutely the best.
We suggest when you’re faced with a group of mobs that you target in the following order of priority.
- Bombers, Grenadiers, or Saboteurs – Area of Attack (AOE) bomb attacks can do massive damage in a short time, so take these baddies out first.
- Snipers – These deal massive damage from a distance, and are hard to avoid.
- Fighters – These can be defeated by ganging up on them.
- Sergeants – Do more damage to those that are moving first. Anti-range works best, and the Mesmer skill Feedback is the best defense/offense.
- Lieutenants – Anti-range, anti-projectile.
- Captains – Will use condition removal
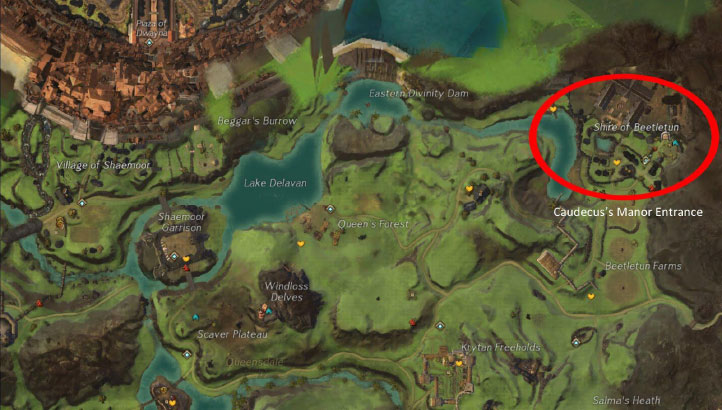
The entrance to Caudecus’ Manor is in the Shire of Beetletun in Queensdale
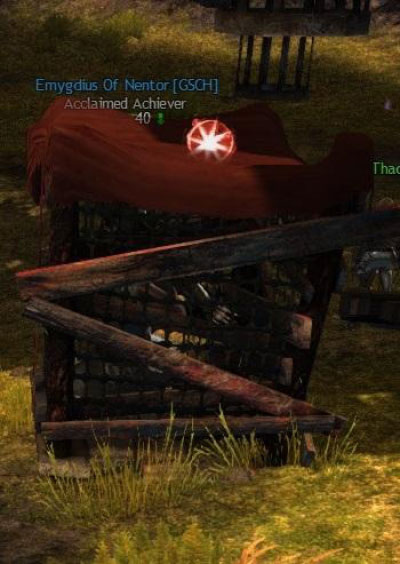
We enter the dungeon and immediately see Albert, the butler. Go up the stairs and through the doorway and hall to find the courtyard. Talk to Captain Logan Thackeray to begin the first cut scene. It seems that Logan fears for the Queen’s safety. Uzolan the inventor is supposed to show off his newest invention. After the cut scene, talk to the guests and staff with this symbol above their heads:

This star icon will appear above the heads of some NPCs
There are three questions for each person. The fastest way to get through this is to assign question 1, 2, and 3 to individuals and have those individuals ask each target their one question. Eventually, the star goes back to Logan, and you then speak to him. That will start the fight.
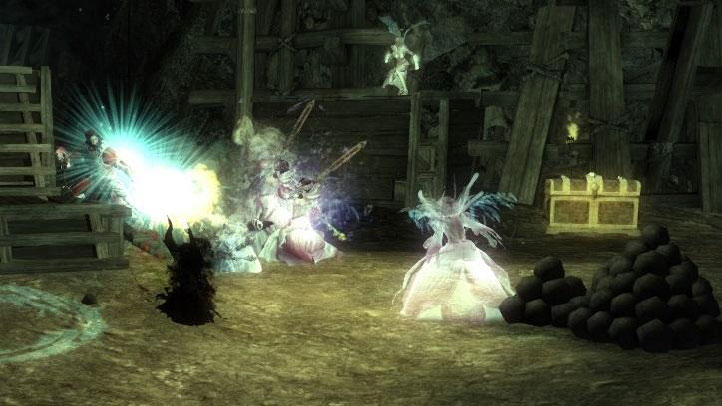
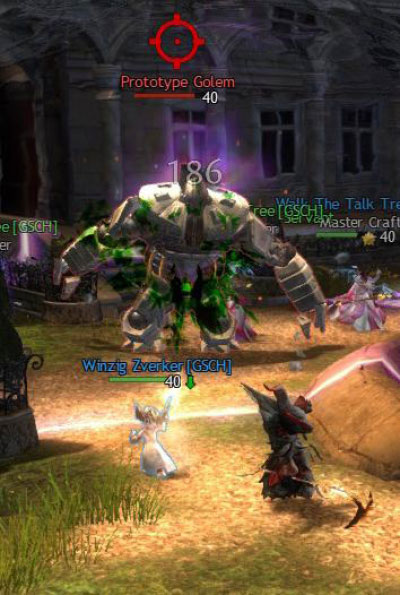 Uzolan’s golem has two main attacks: a spinning fire attack and a spinning rocket attack. The rocket attack will give you no red circles to dodge out of. You have to see the attack begin and then dodge behind something. He will also pull you in if you are too close and his damage can be massive if you don’t dodge out. We have our best luck by attacking him at range from behind the hedges and trees. When the rocket attacks start, dodge backwards to hide behind the bushes. Guardians’ “Wall of Reflection” works against the rocket attack but not the flame attack. If you keep at it and are able to avoid damage by dodging and hiding, this fight will last a short while. If you are unable to avoid the rockets and the flames? It will take much longer.
Wall of Reflection and the Mesmer skill Feedback are all valuable skills in this fight. This has been called the most difficult fight of the dungeon, and in fact it can be if you’re not ready for it. Gaiscioch parties have defeated the golem with level 40 characters. You can, too. Don’t forget to loot the first of four chests right by the stairs.
Once the golem has been defeated, follow the sparkle trail to find the way.
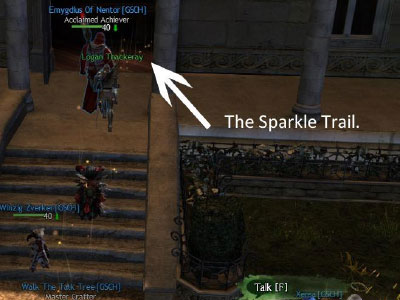 Follow the little lights. There is peace and serenity in the lights.
The trail will lead you to the Champion Door Guard. He will refuse to open the door and then the fight will begin.
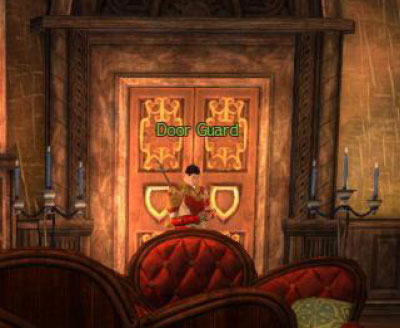
The Door Guard before he attacks
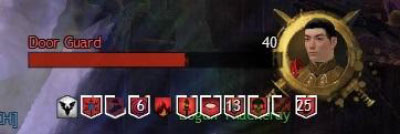
The Door Guard can be a tough champion, but he’s not invincible
This champion level guard has a lot of HP and can do a lot of damage if you try to fight him toe-to-toe. We like to kite him and keep hitting him from everywhere. Tanks can jump in and out of the fight, trying to catch him from behind. Range damage dealers can stay on the stairs and still hit him. If everyone keeps attacking him, he will go down, and the door will open. Important: resist the urge to charge through the door.
We like to have our guardian put up Wall of Reflection right at the door as we kite the trash mobs out. Then, keep hitting them while they’re stuck in the door. It takes less time than having to chase them all around the room. We are usually able to kill all these mobs in two or three groups. Chest number two is in this room.
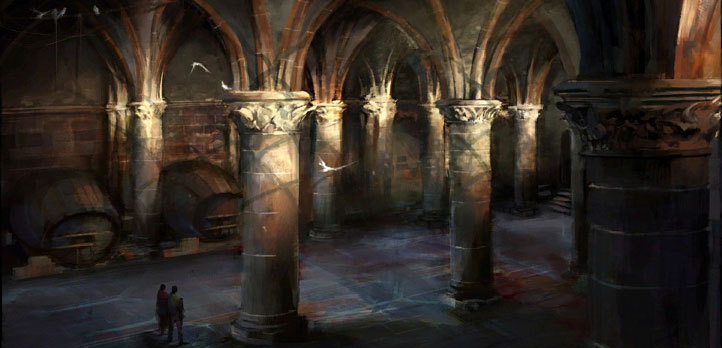
Right next to the chest are steps leading down to the cellar. Again, resist the urge to charge down these stairs. Instead, we like to send a ranger or warrior with a bow down to “call” or pull mobs towards us and then run back up into the room. The rest of us then join the fight. Sometimes, our ranger doesn’t get back to the top of the stairs, and we then fight the mobs on the stairs. Be careful not to go down the stairs too far, since you can aggro another group of bad guys if you get too close.
Again, once the first group is done, bring some more enemies back. We usually can get them all in two or three attacks. Once they’re dispatched, we find a small group by a door in the cellar that includes Uzolan. He runs off as we defeat the guards. Once they’re down, there is a switch to open the door to the outer tunnels.
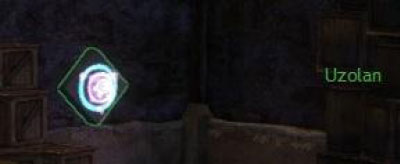
That big glowing thing must surely be the door switch
In the outer tunnel, you’ll find the lieutenant. He can do a lot of ranged damage. Anti-projectile defense is helpful. Mesmer’s Feedback and Guardian’s Wall of Reflection are my favorites. Once the lieutenant has been defeated, look around the corner to see a lieutenant, a sergeant, and a fighter. We like to take the fighter first, then the sergeant. The lieutenant is the same as the one you just killed and shouldn’t give you much trouble. Avoid getting too close to the adjoining room, since there are a few more mobs in there. Once these three are finished, go after the rest. Once all the mobs are cleared, wake Sigfast with a cold bucket of water, and he’ll unlock the door to the outside. Don’t forget to loot the third chest in here.
Heading towards the last tunnel
Outside, we have an enemy group immediately past the door. Use the range and draw method to bring them inside, and then finish them quickly. Once they’re gone, clear the two groups of hounds controlled by a lieutenant each. Again, hit them at range and draw them to your location to keep from having to fight them both. Beware the group of mobs in the trees and stay far enough away to keep them out of the fight. This is one of the spots where it is very easy for the party to wipe out if you rush in. You can take care of them after the dog packs are gone.
We usually move into the trees on the left and take out the bombers and snipers we can see first. Enemy fighters will attack, and they will be easily dispatched. Once the ground is clear, work up the ramp going around the tree and kill everything in your path. At the top there will be a lieutenant. The mobs in this group are normal with lower HP. You should be able to take everyone. If you’re lower level, use the range and draw method on the fighters while staying out of sight of the snipers.
Once this group is cleared, release Mia Kindleshot from the cage, and she’ll tell you where to find the Queen. On your way to the final battle, don’t miss the chest in the field.
Poor Mia Kindleshot looks pretty cramped in that cage
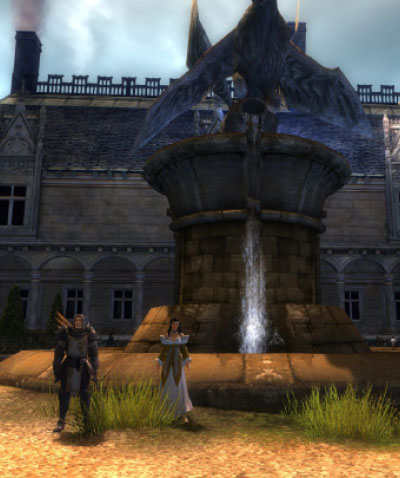
At the top of the valley, you’ll find Queen Jennah inside a protective bubble. Captain DeLana, a sergeant, and two fighters are trying to figure out how to get her out. We usually take out the fighters, the sergeant and then finally the Captain. As in most of the dungeons I’ve run, this fight is an anti-climactic battle. You do want to be careful with the sergeant whose range attacks do more damage when you’re moving, and Captain DeLana who can cause temporary blindness with the ranged attacks.
And that’s the dungeon we call Caudecus’s manor. Once the Queen has been saved, you have a few minutes for a photo shoot and then move on to your next adventure.

Congratulations! You rescued the Queen!
About Guild Wars 2
Guild Wars 2 is an online role-playing game with fast-paced action combat, a rich and detailed universe of stories, awe-inspiring landscapes to explore, two challenging player vs. player modes—and no subscription fees!