
Aetherian Archive Trial Guide
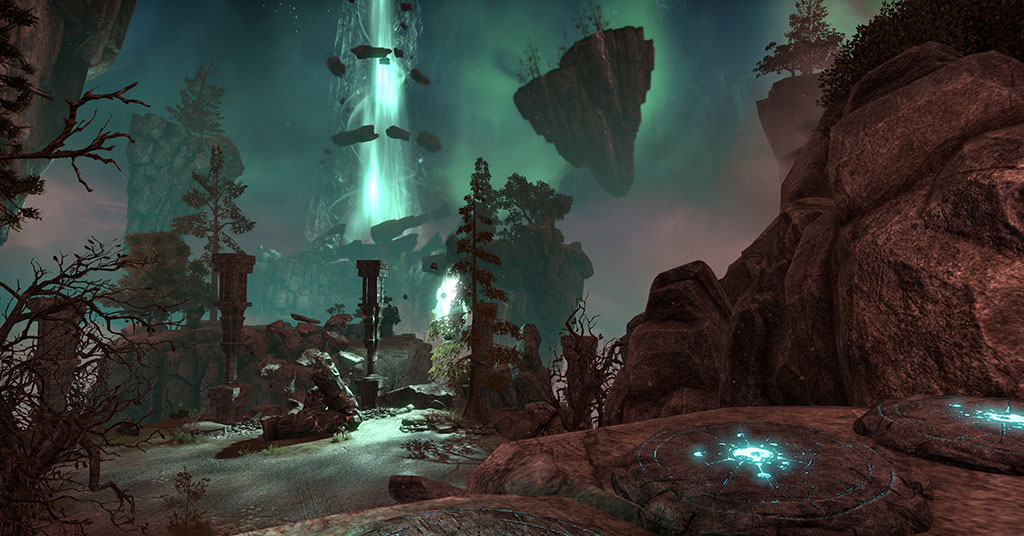
Aetherian Archive (AA) is one of the trials in Craglorn in the game, Elder Scrolls Online. It is the domain of the Mage celestial. For those unfamiliar with the celestials, you can consider them the zodiac spirits of The Elder Scrolls series. There are several times when the mage talks with the raid group during this trial, usually to insult the players who can't possibly understand anything. Before we worry about the Mage, however, there are a number of obstacles in the way. Let's start at the first door of this trial.
The first door in AA puts you right in the action, so you should prepare before going through the door. You will need to split into groups for several portions of this trial. There are convenient tables near the door which can be used to split your raid into three groups of four:
- a left group with three DPS (damage per second) players and a healer
- a center group with the tank and three DPS players
- a right group with the second healer and three DPS players
This preparation will help you get on your way. Have somebody designated to run the Rapid Assault skill from the AvA assault skill line. Use it just before entering the first door.
Entering the first door starts the “corridor of fire” event. A short run up some stairs and into Fire Atronachs is waiting just for you! There are three fire walls that pop up in order, roasting people. Technically you could work on avoiding them, but there's really no need to do so. Everyone except the tank should run past the atronachs, then turn around and defeat them.
After you survive that, you’ll reach the second door. This time, you will run an ice-themed gauntlet. Here is where Rapid Assault is very important, because the whirls of cold in this hallway will root players in place. By using this skill, you can avoid this being an issue for everyone at one time. At the end, two Frost Atronachs await you. Again, DPS players and healers should run past, then turn to engage the enemies.
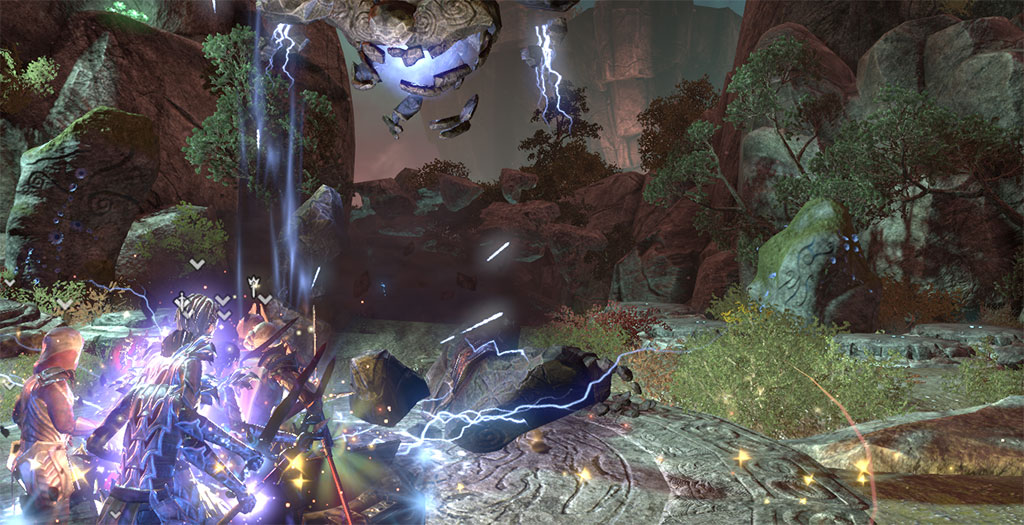
The final hallway of elemental-based trouble is filled with lightning. Again, use Rapid Assault and just run past them. This time, however, you reach an area that is more open and face a large pack of humanoid foes. The tank should run in, and everyone should kill these foes en masse. Grouping close together will allow the healers to be more effective at using their skills, especially if everyone also maintains enough health not to melt when hit with a little heat.
Lightning Storm Atronach:
The Lightning Storm Atronach will show up once the players drop down into the lower area and move close enough to the summoning platform. There are two approaches to the fight. The group can either cluster together in front of the boss while running to light beams or bunch up in front of the boss while healing hard.
Abilities that this boss uses:
- Shocking Blast: A single hit attack against everyone in range. This attack is of minimal threat so long as you are grouped up.
- Light Beam: The light beam shows up as a safety marker against the storm attack of this boss. You can ignore this if you are trying to heal through the storm. If you are not planning to heal through it, you must run to the marked location to avoid the massive damage that the Harsh Storm ability inflicts to all players.
- Harsh Storm: The boss unleashes repeated attacks causing massive damage to everyone for about eight seconds. Having an off-healer and using the Nova or Veil skills at this time is important to group survival. Extremely powerful healers may manage without off-healing, but most parties will find it’s more effective to have an extra healer.
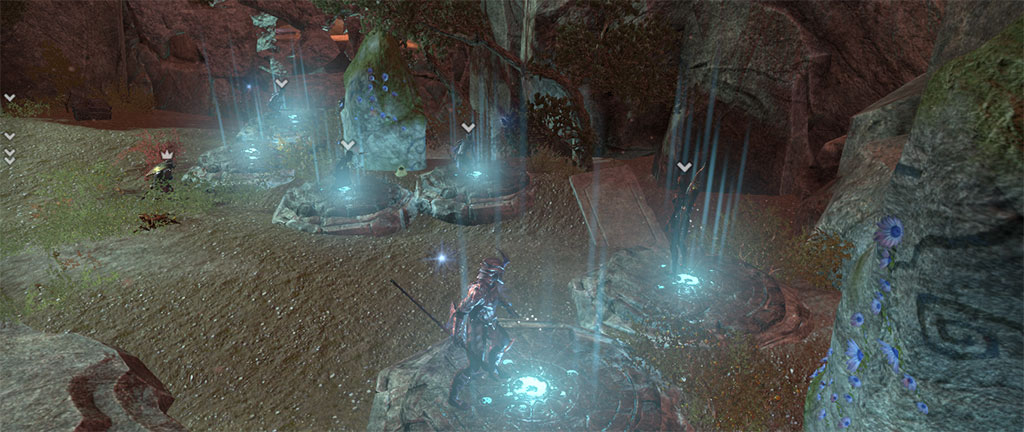
What does the group reach next? Platforms! This mechanic will show up multiple times in AA. In this section, you need three groups, since the twelve platforms are set up as three distinct groups. Remember that all twelve platforms must be activated for them to work. Each platform should have one member of the designated group on it with the center group crouching for stealth. You can verify that you activated your platform by watching it sink slightly when you step onto it.
The left and right groups should kill everything as quickly as possible. When they are done, they should run down to join with the center group.
The center group should wait for the all-clear signal from both the left and right side groups. The enemies in the center will keep respawning unless both sides are cleared first. Once the enemies on the two sides are defeated, the center group can engage their foes.
Wait--there are more platforms! This time, they are all located in one big cluster. Activate them, and you will arrive back at the Lightning Storm Atronach area. The floating rocks will coalesce into a bridge. Give it enough time to finish, since trying to jump across the pieces can cause you to fall off the side to your death (yep, been there, done that.)
After a little fight with some foes, you arrive at yet another set of twelve platforms. Once all of these are activated, the raid group will be ported to the next boss.

Foundation Stone Atronach:
This boss fight requires coordination, and discussing the methods of dealing with the Chainspinner's vile circle of harmful chains before engaging it is very useful. Players will once again be grouping on the tank.
Abilities:
- Adds: New Chainspinners and Nullifiers will be summoned regularly. The Nullifiers are a minor issue at best, but the Chainspinners must be killed as soon as they spawn.
- Chainspinners: Chainspinners place a circular effect on the ground that harms anyone inside it. These enemies target a spot near a random member of the group. This means there will be two possible locations for the chains. The first will be almost directly under the main boss. The second will be centered on the group. Clustering helps control these attacks so that players don’t get trapped. No more than two Chainspinners should be alive at any time the boss is above 20% health. Moving carefully will make or break your healers in this fight, and again an off-healer can be very useful to allow a little time for magicka regeneration for the main healer while learning to get out of the bad areas swiftly. Here are some tips on how to handle these monsters:
- Under the boss: Step back slightly so that you are out of the area of effect (AoE) circle, unless another AoE is placed in the group.
- In the group: The raid group should circle right or left around the boss. Players should move just far enough to get out of the danger spots, then cluster together again.
- Handling more than two chainspinners when the boss has greater than 20% health: The group isn’t killing chainspinners quickly enough with splash damage and area attacks. Destroy them and then return to attacking the main boss.
- Pound: The boss slams the ground several times, dealing damage to all members of the group. Healers should be using area heals for this to make the fight far less painful. This ability is not really a threat unless you are not clustered together, although a bugged instance can cause this skill to deal massive damage. If it is bugged, reset the trial.
Now the group gets to climb another set of platforms! This is like the first set of platforms, but the main difference is that once both sides are cleared the center group must fight alone. All three sides will have to cross rock bridges to move on to the next boss. The side groups should pull enemies slowly since there are far more foes this time. The raid will be overwhelmed if they try to move through this area too quickly.
Varlariel:
Varlariel looks like a wispmother and uses a few abilities reminiscent of them.
Abilities:
- Many Drops: The boss is constantly throwing out attacks that land in random areas. These attacks hit hard and need to be avoided. They do not specifically target players, so individuals may or may not have to move at any given time.
- Split: Varlariel splits off fragments that must be killed. Each time she splits, the number of fragments increases by one, starting at three. These pieces don't have a lot of health, and a few good DPS attacks should kill them in short order. Each fragment goes to a pillar in the room, starting at the pillars opposite where the group enters. Every new fragment addition will fill in pillars from back to front as the fight goes on.
- Explode: After splitting off fragments, Varlariel will explode. The damage of this attack scales up based on the number of fragments that are alive in the area. Killing some of the fragments is better than killing none, although ideally she will be dead before there are enough of these to be an issue.

The Mage:
The Mage aspect fight is a little different from the other fights leading up to this point. There are two sets of foes to deal with before the mage, with the boss spawning and engaging the party once both groups of monsters are dead. Generally, the players should group up to kill the enemies. Saving a single enemy for a while allows you time for recovery of stats. However, that time seems to be limited, and if the party takes too long to defeat it, the mage will kill the last enemy and shows up when you aren't expecting it. Prepare ahead of time for this fight, and try to hold off on killing the last enemy long enough to get in position for the Mage spawn. Then, call for the players to kill the last foe.
Abilities that the Mage uses:
- Axes: The Mage calls upon magical axes to attack the group. The tank must taunt and hold them in place. The axes hit hard when unblocked, but DPS players and healers can survive easily while waiting for the tank to pick up axes by blocking. As the number of axes grow, the damage increases, and so the tank will need both more healing and frequent shards to keep stamina high.
- Mines: Mines will appear throughout the fight at random places in the battle area. Those with a strong damage shield can remove them without dying. Use caution since mines can be stacked in one spot throughout the fight. In general, with solid DPS, you can ignore most if not all of the mines.
- Mini-Mage: Every so often, a mini-mage will fall from the sky. The crash landing causes damage, and it can fling you away or off the battle area. The impact can send players flying up into the sky where they can’t fight. Eventually, they will fall and die. Players should learn where the landing spots are so they don’t stand in them.
- Dark Beam: The mini-mages fire three dark beams out at random members of the group. These beams cause heavy damage and cannot be interrupted or avoided. Kill the mini-mage quickly to save your healers from having to heal through this attack.
- Growing Corruption: The Mage also uses a wide area attack that throws a small glob of darkness on the ground. This glob will expand to a large diameter and deal heavy damage to anyone within it. It will dissipate with time. In general, players should stay near only one other party member during phase one of this fight. When forced to move by this circle, don’t group with more than two other raid members.
- Chain Lightning: This attack targets a random player and leaps to anyone within a given distance. It will only hit each player once. This mechanic ensures the group spreads out. The group should encircle the central platform, with healers in range of the tank who can stand further out from it. A few melee players may be inside near the mage.
- You Shall Not Stand: At about 30%, the Mage slams down her staff three times. The resulting wave of force knocks back all players. At this time, players need to gather close together around the Mage, since the Mage will swap to attacking the entire group with damage every second. Healers need to use their area healing effects to keep everyone alive.
Mines do not disappear until the third slam, so be careful about where you go. If she is surrounded by mines, a single player may need to sacrifice him- or herself in order to clear her feet. Those with strong health bubbles can detonate mines to help the group. This is a very healing intensive part of the fight. The DPS players need to burn as fast as possible to defeat the Mage before healers running out of magicka.
With a little final lore, the players will conquer the trial of Atherian Archive. A portal will spawn which takes the group back to the start where they can turn in the quest and enjoy the new loot.
Many thanks to the members of Gaiscioch who have helped put this together! Thank you! There are too many names to mention here, as our raiding group in ESO continues to grow. However, I do want to include special thanks to Eiahn and Prissy for running the trials for us.
About the Author
Jairone
Senior Editor
Robert joined Gaiscioch during the Rift chapter, and decided to stick around because the people are awesome! He has a long history of playing games, mostly RPG or Strategy, and has played MMOs since they were born of MUDs.
Aside from his gaming, he also enjoys reading and cooking. Robert has also been previously published as a contributor with Rift Junkies for several articles during the 'Storm Legion' expansion. He does not always use the moniker 'Jairone' but it is a frequent choice in honor of one of his Grandfathers, as it is based on his middle name of Jerome.
About Elder Scrolls Online
Experience an ever-expanding story across all of Tamriel in The Elder Scrolls Online, an award-winning online RPG. Explore a rich, living world with friends or embark upon a solo adventure. Enjoy complete control over how your character looks and plays, from the weapons you wield to the skills you learn – the choices you make will shape your destiny. Welcome to a world without limits.